A New Way To Add Detailing To A Wall, Wood Trim With X's
Adding woods detailing to a space is big correct now. And for skilful reason, it adds a visual to a space, is more creative then a pictures on a wall, and warms upwards any room with the improver of the wood. Merely to try and practice something unlike and fresh using wood detailing is becoming more difficult, it has all been done earlier. Information technology's time to get artistic when using decorative forest trim.
 View in gallery
 Related: The Best Wood Filler For Any Type Of Wood Repairs
And so I added a little twist to the idea. Starting with some x's, Ten marks the spot, and this spot is the happy identify in using wood to decorate a feature wall.
I planned on making a horizontal 1 foot broad strip reach from one side of one wall to the other. And so painting it a nighttime blue, but with lite colored Ten'southward beingness the real detail. And and then framing it all with a 1 inch wide wood trim. Making this wood feature wall unique, fun, unlike, but subtle and pocket-sized enough to not overwhelm a space.
Materials needed for this wood trim project:
laser leveler
chalk line
painter'southward tape
measuring tape
night blue paint
wood trim
miter saw
white pigment
compressed cardboard
nail gun
table saw
wood putty
 View in gallery
 How to add decorative forest trim to a wall:
I began past first realizing that in gild to make this work out right, everything needed to be precise. My acme and bottom to the feature needed to be level and even. I succeeded in keeping this level using a laser leveler.
Step 1: Position the laser leveler
I placed the level on a stool, and played around with elevation divergence by adding and taking away books until the laser line was at my desired bespeak. And then made sure both sides were level.
 View in gallery
 Step ii: Line upward the chalk line above the laser line
Using a chalk line, attaching one side to the corner of the wall, having my trusty banana agree the other cease. Lining up the chalk line straight on top of the laser.
 View in gallery
 Step 3: Mark two lines at the tiptop and the bottom
Then pull the cord back, not too far. But enough to brand the chalk line have enough oomph to exit a dark red line.
 View in gallery
 I did this for both my elevation and bottom lines. Once the lines were good, I used painters tape along the whole lines. This will allow me to use the paint and keep it inside my allotted surface area.
 View in gallery
 Step 4: Add painter'southward tape along the lines and split up it into sections
 View in gallery
 To decide how many X's I should put on the wall. I measured the length of the wall where the feature is going to go. Then divided that number past any number. To encounter how many x'southward you need. I started with 6 ten's but it made them really big. And then I concluded upward with 10 x's all being x 1/4 wide each. My very concluding X was slightly bigger. 1/ii an inch, not noticeable. This was the best way to brand it work.
 View in gallery
  View in gallery
 Once the number and the desired size was determined I laid out my measuring tape. Marking every 10 and i/4 fourth dimension. Marker where each x should be. Again, this is needed to brand sure all X'southward are the same size across the board. With it existence a long and thin feature, any discrepancy in size will exist very obvious. Each situation will call for more or less X's, and the size of them. The wall I am putting this on is fairly big, in my home function/written report. With no window or door on it. So I was able to make this be the focal betoken for the room. Be sure to push button in and polish out the tape for each 10. This will guarantee no paint will seep though. Painted record put on snugly will go on all paint out.
Step 5: Outline the X's with more painter'due south tape
 View in gallery
 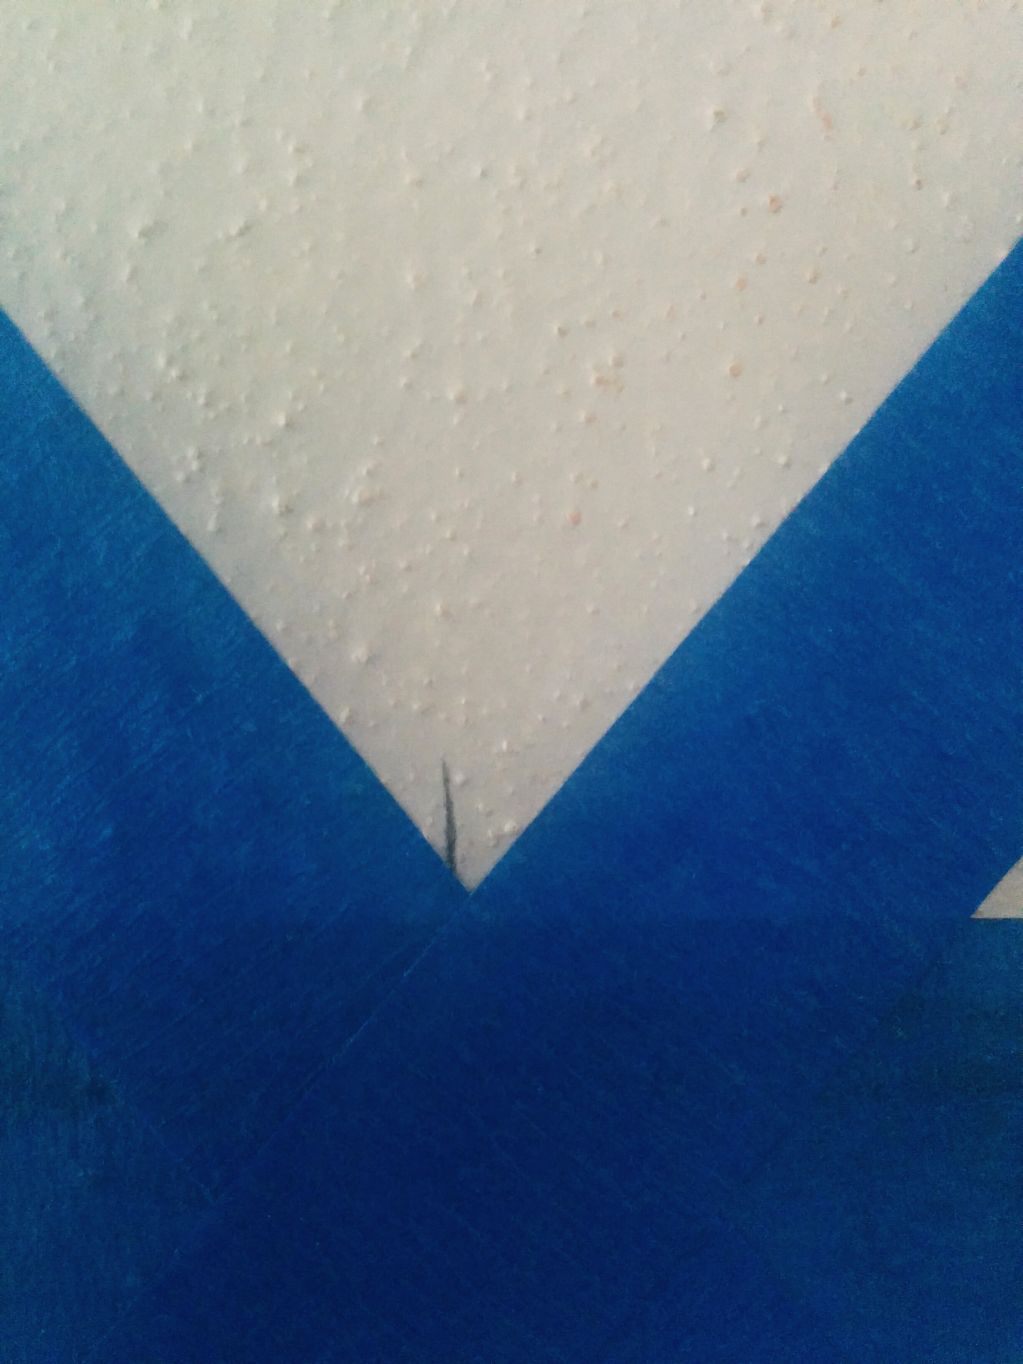 View in gallery
  View in gallery
 Step 6: Paint the wall
Once all was taped upwardly, it was fourth dimension to paint. I used a dark blue. A Dutch Male child Chancon Bleu with the primer already in it. With the color on the wall previously a very, VERY lite gray a primer would not have been needed. Merely if you are painting over annihilation with a color on it a primer, or paint and primer combined will be needed to embrace information technology up. Also the way this blueprint works is the color under this will be what the 10 portion will show. So if you want white to bear witness through you volition need to paint the whole surface area white, earlier the 10's are taped on.
 View in gallery
  View in gallery
 I applied the paint using a small-scale roller, this allowed me enough command of the roller to keep it within the taped upwardly area. I ran it forth the whole area. Being sure to become over the 10's equally well. Don't worry the tape is in that location and will prevent the pigment from touching the wall wherever the painters tape is.
 View in gallery
  View in gallery
 Step 7: Cutting the forest trim
While that was drying it was time to cut the wall trim that volition be used to frame the feature. The type and style of the trim is personal. I chose one that is one inch thick and three inches wide. With some ridges to give the expect a subtle visual. I set the trim piece up on the wall. And and so marked with a pencil where I needed to cut.
 View in gallery
 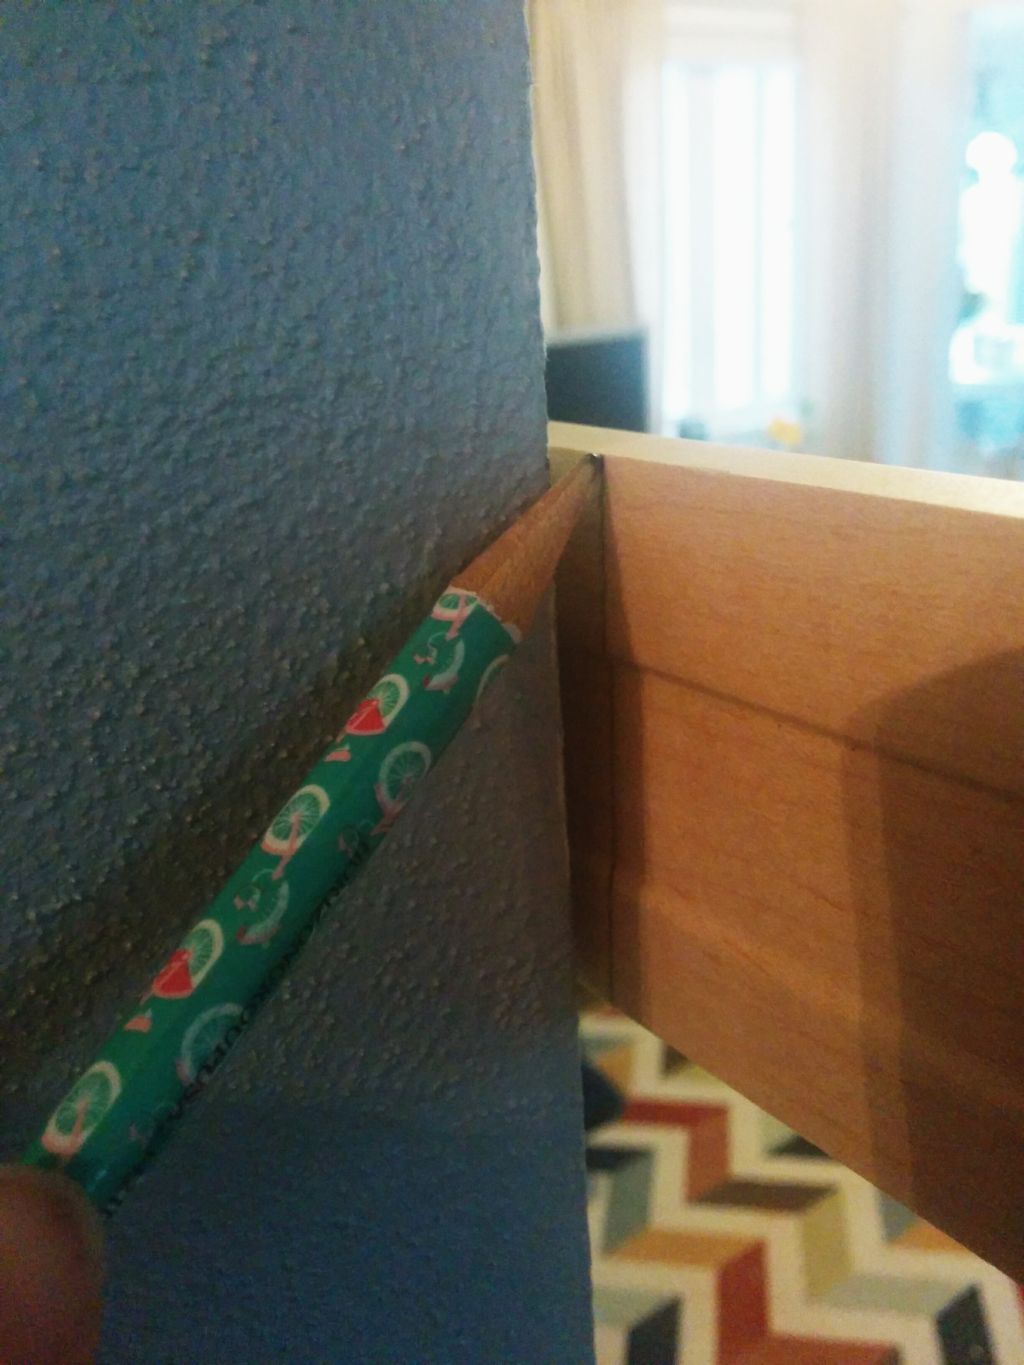 View in gallery
 I chose to brand all edges of the trim exist 45 caste angles. This allows a seamless connection betwixt the individual pieces. Making information technology fit together like a picture frame. I accomplished this by using my miter saw. Setting it at a 45 degree angle.
 View in gallery
 Before I cut I used a protractor with a 45 setting to depict a line from my marking on the wood trim going in. This immune at that place to be no confusion on my part where the bending should be cut.
 View in gallery
  View in gallery
  View in gallery
 Footstep 8: Cheque if the angles are right
After each cut of each trim I lined them up to decide if it was the correct angle and had lined upwards properly. Sometimes you may need to shave off a little bit here and there to make is exist as snug every bit possible with the fit.
 View in gallery
 Step 9: Pigment the wall trim
Once all pieces were ready I painted them. I used a basic semi gloss white with primer. Using a large castor and painting going one side to the other. Forth the grain of the forest. I did two coats of this to make sure all modest details were covered.
 View in gallery
 Stride ten: Remove the tape
I was antsy to go back inside and pull the tape on the wall off. Revealing my glorious and perfect X'south. The paint had stale and information technology was fourth dimension to pull the tape off and hope that no paint seeped through.
 View in gallery
 I pulled information technology off and right away saw a huge problem. With all of the pushing I had done on the tape to make certain it was on tight. My walls have a finish that is rough on it. There is small petty bubbles similar to soft sand paper. It is throughout the whole firm and supposedly makes stains and smudges harder to stay on the wall. Information technology also makes record harder to stay on the wall. My lines were horrible. There was portions of pigment all throughout the lines.
 View in gallery
 Stride eleven: Come upwardly with a plan to solve this complication
I could not pigment white on those spots, with the bluish beingness so dark, the smudges would notwithstanding accept shown through whatever white I put upwards. And I don't know if I would have been able to make the lines as precise every bit was necessary. Information technology was damage control time. I volition say that if you lot are planning on doing this at dwelling house you should take no problem getting the desired issue of the white paint coming through where the Ten'due south are. If yous take a textured wall you may have to do what I concluded up having to exercise.
 View in gallery
 My solution was to use some Masonite. It is essentially compressed cardboard and is used as bankroll for a lot of book shelves or other furniture. Information technology was exactly the same thickness equally the trim so would fit right in.
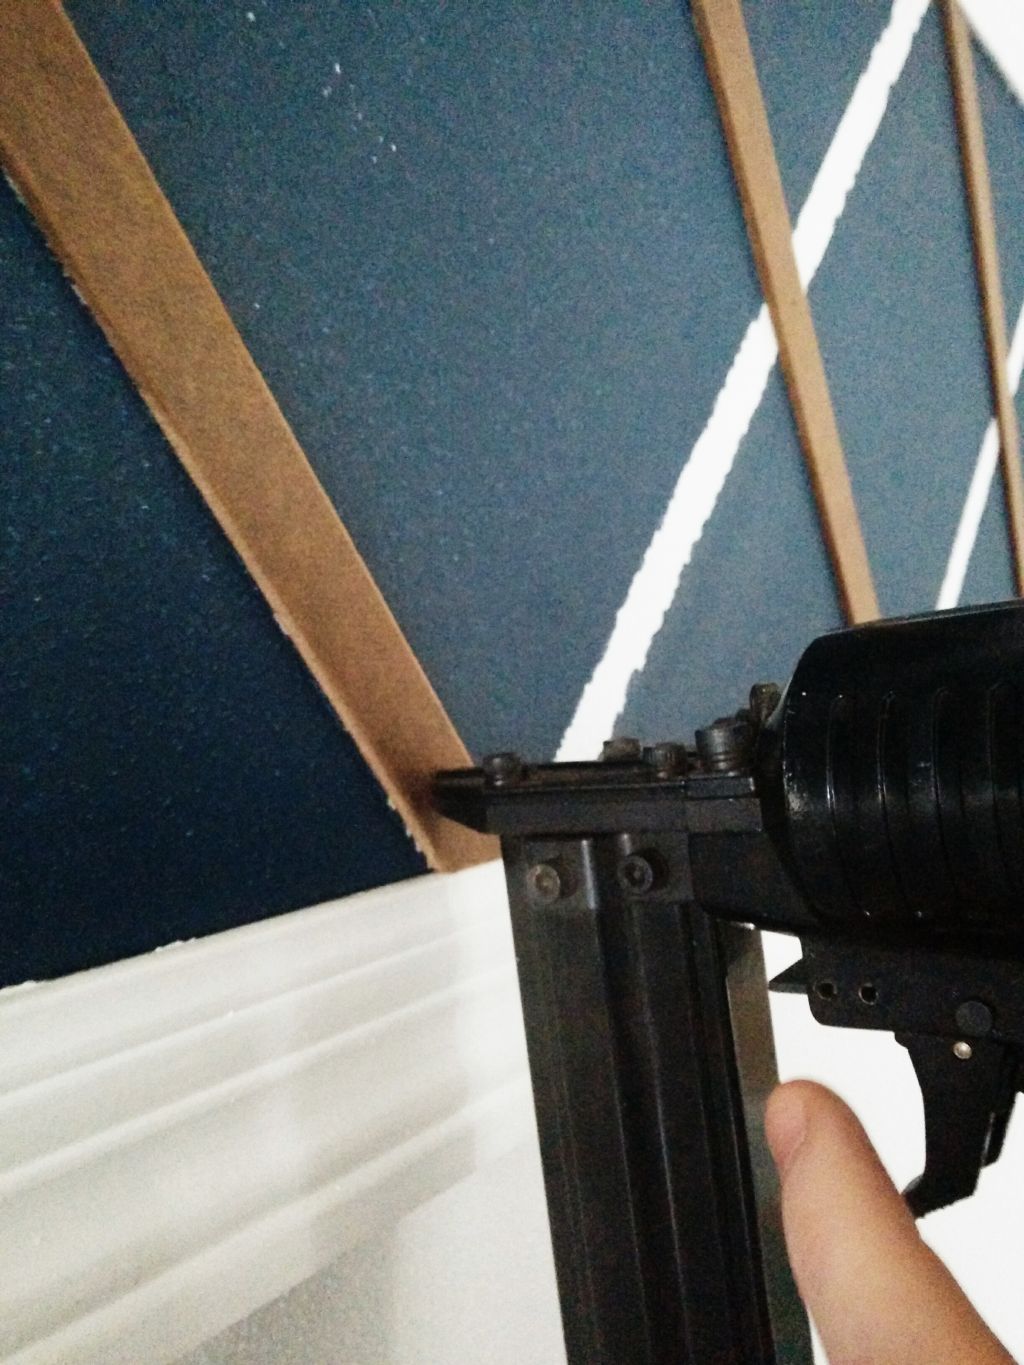
Step 12: Install the wood trim
Earlier I got to cutting anything I put up the newly painted white trim. Lining it upwards right on the line of my painted bluish spot (where the record was). Then using a air boom gun. I just pushed information technology in and punctured a spot. Doing 1 nail every 5-8 inches or and then. Making sure it is all secure on the wall. This can be done without a nail gun. But simply a nail and a hammer. If yous do it this way be careful to non hit besides hard, it could snap or cause a break in the woods where the blast goes in.
 View in gallery
 Pace thirteen: Cut the Masonite into thin pieces
Next it was fourth dimension to set my problem and get the Masonite to work for this characteristic. I measured how wide the X's are. They are all 1 inch wide and began the long procedure of cutting 20, ane inch long pieces. I had 10 X's and demand two lines per Ten.
I used a table saw, set it at the desired measurement and pushed the Masonite through. Cutting out one at a time
 View in gallery
  View in gallery
 Once they were cut, I needed to brand them angled to exist able to wedge into the superlative and bottom of the trim, at an angle. 1 past i bringing in a piece, setting it where it will go and marking the angle needed to cut. Then cutting along that line. Each one was slightly different in the bending needed. If y'all are doing this at dwelling, you lot can likewise put the thin Masonite on under the trim and relieve yourself some time in cut one angle at a time, 20 times.
 View in gallery
 Ane X each had one long piece. And so where the divide of the x is the other i was cutting twice. To brand the top and bottom portion of the other Ten part. It was a long process but 1 that was needed in order to save this project.
 View in gallery
  View in gallery
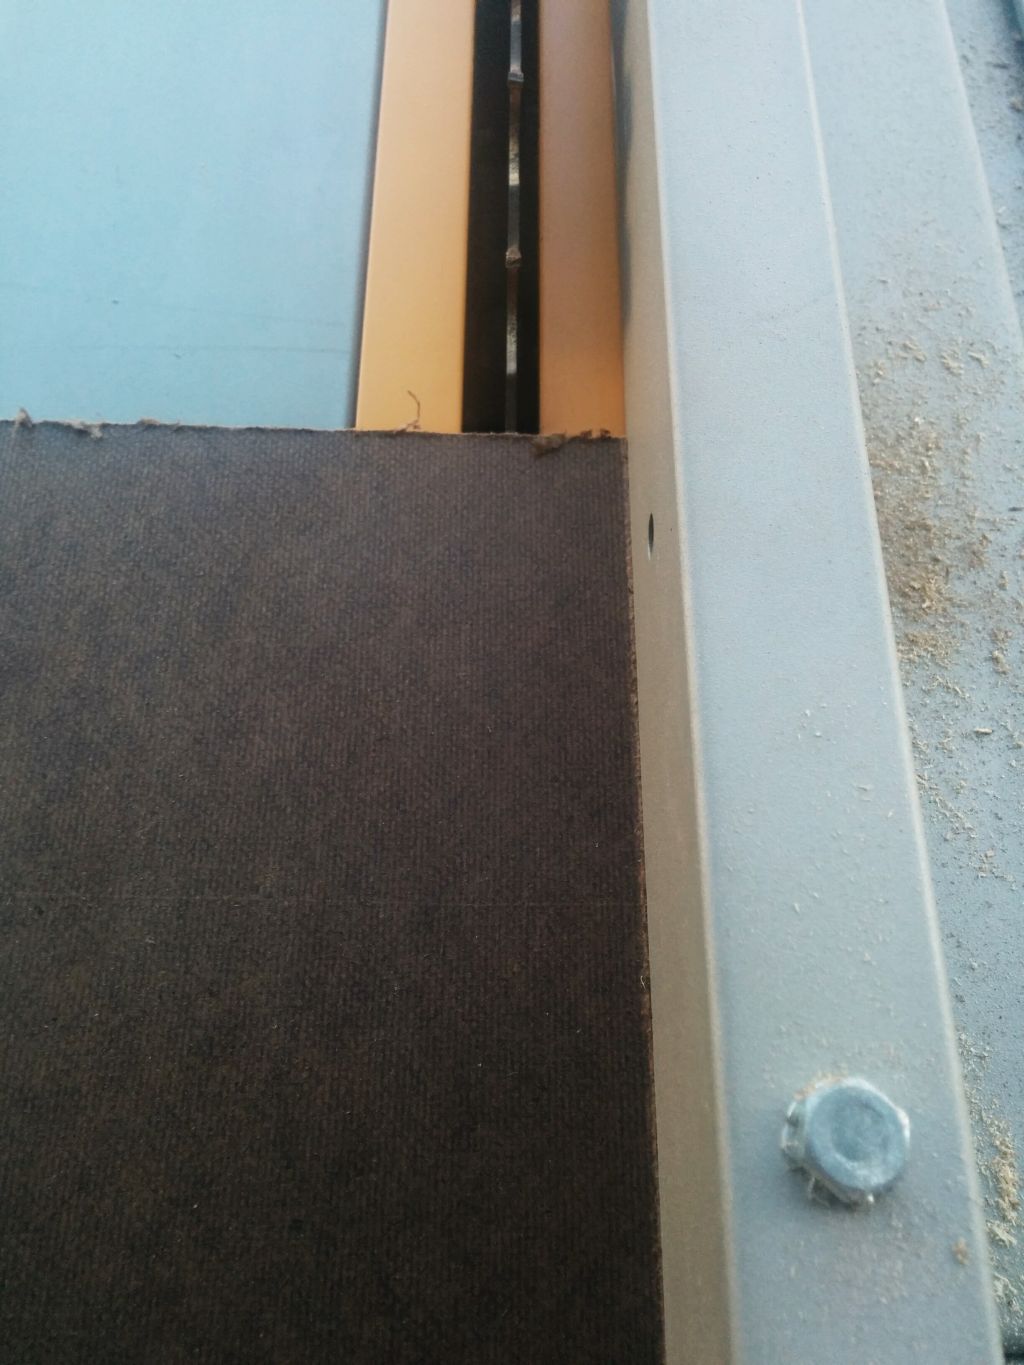
 Pace 13: Install the Masonite
I had initially thought and planned to pigment the new addition of Masonite white to friction match the trim. It was my programme to have the X's be light. But when measuring the Masonite I really liked the look of the night brown combined with the white. A combination of white and brown wood is fast becoming a hit. So I decided to leave them brown. I tin e'er pigment them if I decide the varied colour is not what I similar. But for at present, the colors work neat together. I connected the Masonite to the wall the same I did the the trim, using a air nailer. Putting i nail in the top, one in the middle, and one on the lesser of information technology strip of Masonite.
 View in gallery
 Step xiv: comprehend the nail holes with woods putty
Once all was connected and upward I used a bit of wood putty to button into each nail hole on the white trim. Making the small holes the nail left disappear. I got a small corporeality on my hand and and then smoothed it into the pigsty. Each time wiping my finger beyond to make information technology flush with the trim.
 View in gallery
 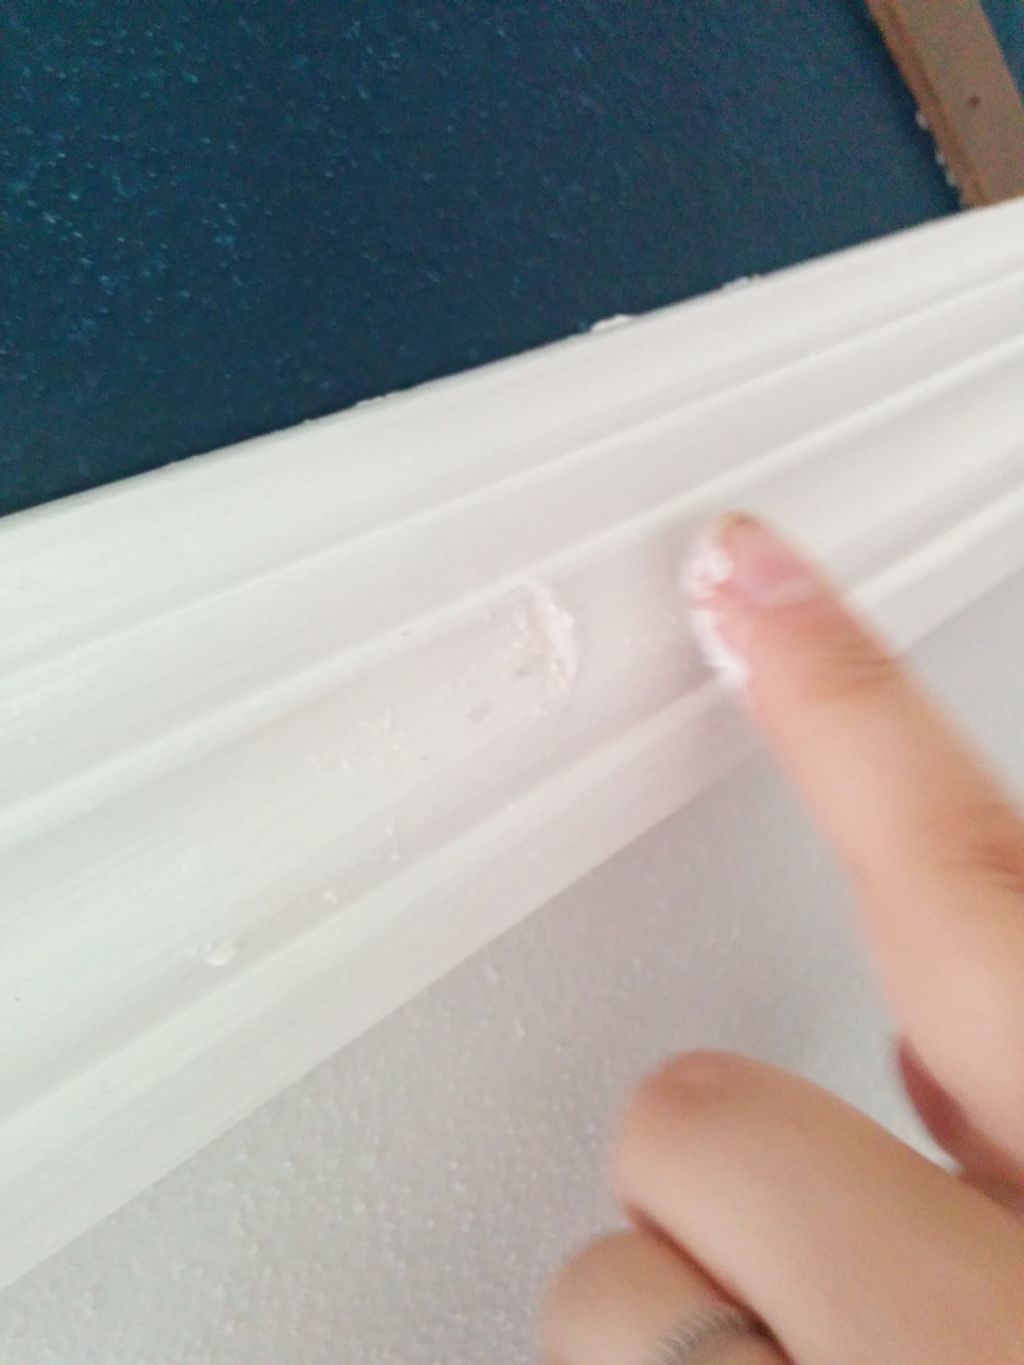 View in gallery
 Step 15: Step back and enjoy
And then, finally. This was done! Information technology was a long procedure, one with a really big hiccup. But if I am beingness honest I am so happy with the last infinitesimal addition of the ii tone forest look. The Masonite has a great advent of dark wood, I have dark wood floors in my home, so it all flows wonderfully. My initial programme to accept the x's exist white would have been not bad too. And less work!
 View in gallery
 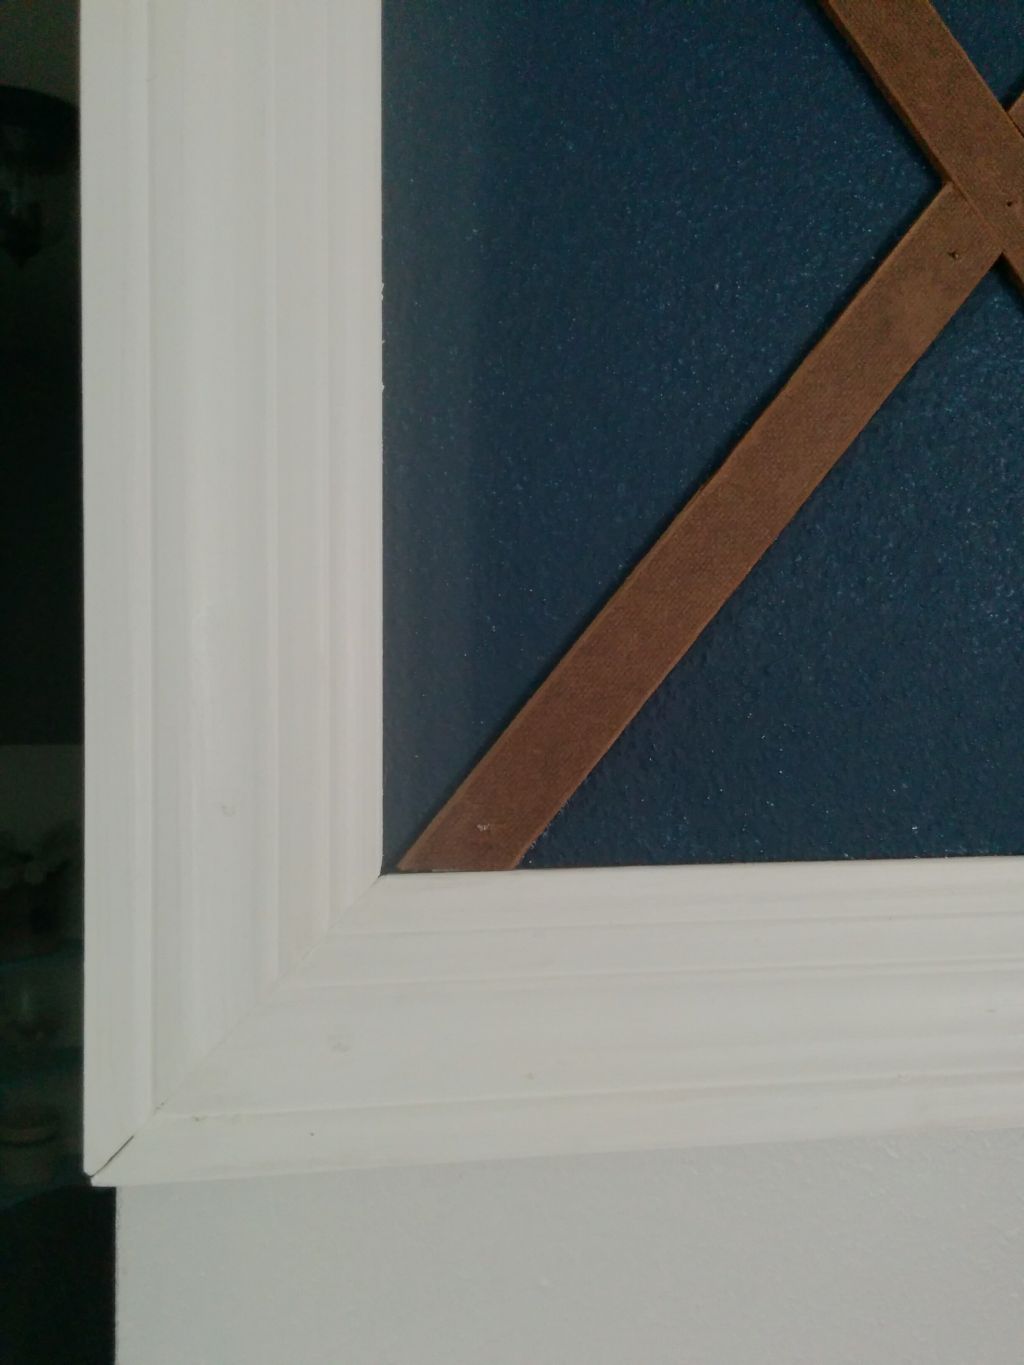 View in gallery
  View in gallery
  View in gallery
 This project is a not bad mode to add together the wood trim detail to a feature wall. Merely without the commitment, time, or overdone idea of wainscoting or wood panels. This is for someone who wants to stand up out, bring some fun and item to a room. And brand it your own. You can do it with my initial program of only the taped X'due south revealing the light pigment. Or do it my other mode of adding the Masonite or whatsoever woods board to make the Ten's stand out along with the forest. Either way is creative and dissimilar!
Source: https://www.homedit.com/wood-trim/
Post a Comment for "A New Way To Add Detailing To A Wall, Wood Trim With X's"